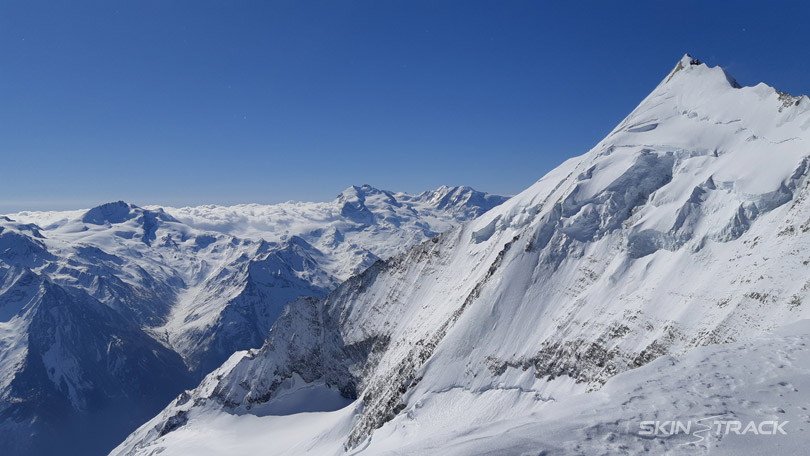
With a shorter route, the Haute Route Imperiale is no less impressive than its famous cousin Haute Route that travels from Chamonix in France to Zermatt in Switzerland and has a few variations.
Offering plenty of options for side trips and much easier logistics, Martina, Daniela and I chose the Haute Route Imperiale after realizing we can do it during a 4-day blue weather window the forecasters were promising. We set out on April 26th.
Staying in the mountains for days at a time is always a special experience. It forces us to escape from busyness of civilization and to give into a simple routine of skiing, eating, laughing and sleeping.
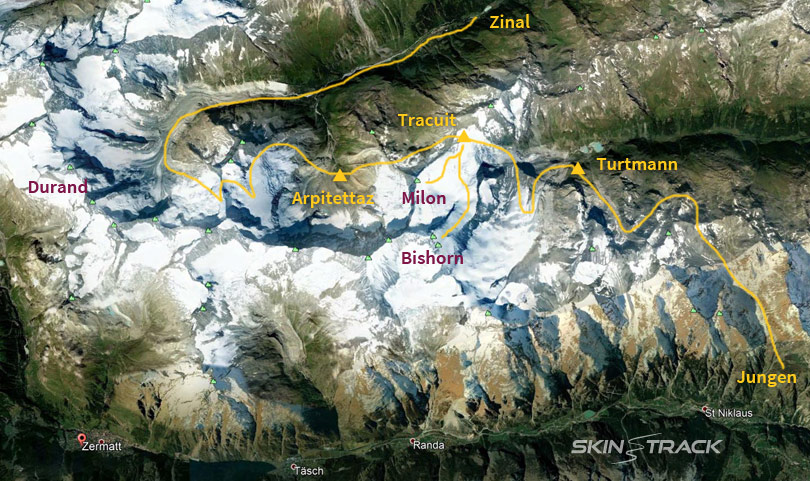
The Imperiale route is entirely in Switzerland and can be done in 4-5 days comfortably if you are used to climbing 1000-1400m on consecutive days. Staying 2-3 extra days will offer you the luxury of many more beautiful side trips.
Good time for the Haute Route Imperiale is from early April to mid-May depending on snow conditions that season. After average winter snowfall the ideal time for this traverse is likely to be mid-to-late April.
» More information on transportation, huts, gear and other arrangements are detailed at the end of this article.
Route Variations
There are a couple of variations of the Imperiale ski traverse yet about two thirds of the route will be the same.
We set out for the variation #1 but we had to change plans and finish with variation #3 due to some health issues.
- Complete traverse: St. Nicolaus (Jungen) – Zermatt
- Complete traverse: St. Luc – Zermatt
- St. Nicolaus (Jungen) – Zinal
- St. Luc – Zinal
Day 1:
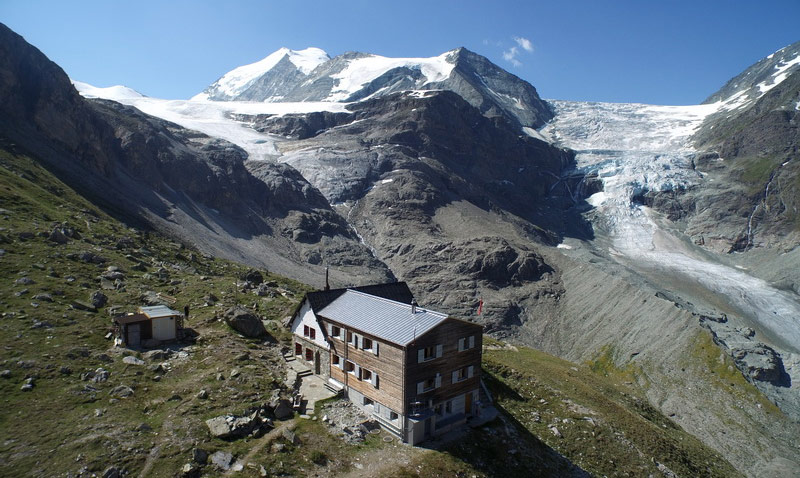
Jungen at 1900m » Turtmann Hutte at 2519m
Elevation gain: around 1500m (2 ascents, 2 descents)
Duration: 5-7h from Jungen
Possible side-trips: couple of excellent north facing ski runs
Our first day was hectic as we were driving to St. Niklaus from Italy in the early morning to catch a gondola to Jungen at 7am. The 10am gondola is too late considering crossing some south slopes later that day.
Solving the four day parking was a bit of a puzzle until the local iconic “gondolier” assured us we can leave our car on the small parking lot right at the gondola station, for free.
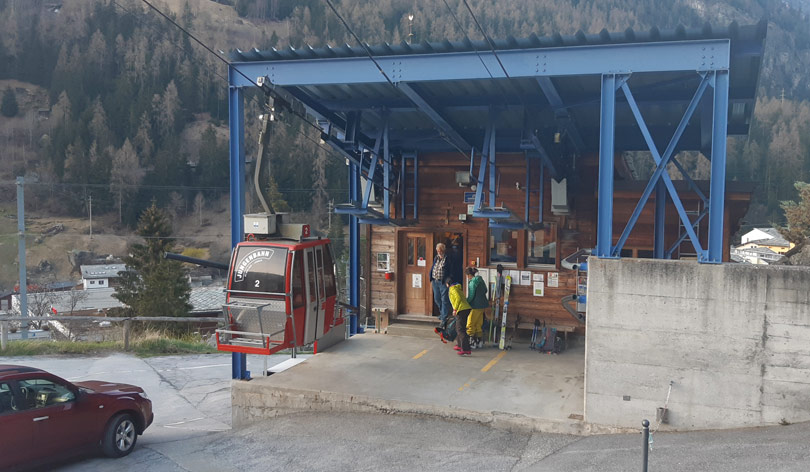
After a scenic ride up to a magically hidden settlement of Jungen (1900m) it was time to walk for the next 45min to reach consistent snow. If we came a week earlier then most likely we would have been already on skis from Jungen.
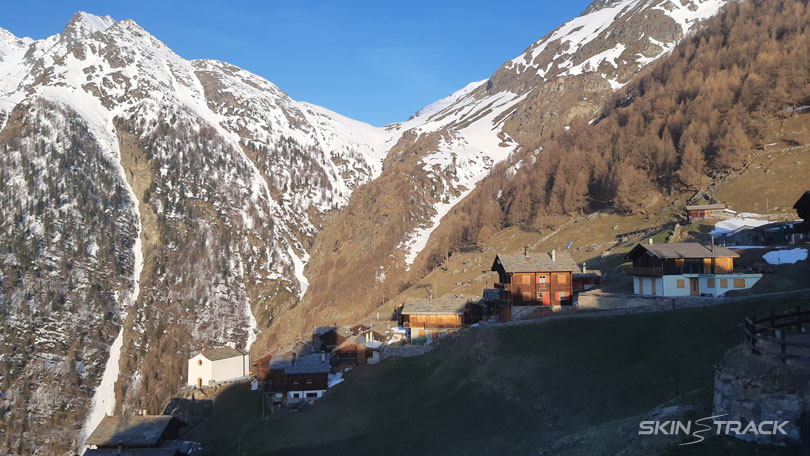
Once skinning, we traveled up a flat valley in westerly direction and then slightly turning left (south) towards north slopes and the start of the longest ascent of the day.
When there are no tracks in this valley then you will definitely want to pay attention which col is your destination as there are some “misleading” options.
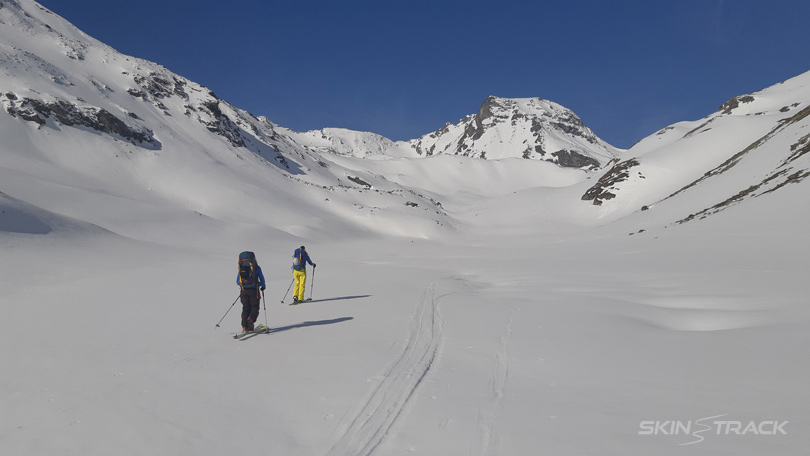
We decided to down-climb the top 100m of the south-west slope to avoid skiing over rocks and potentially triggering a small slab in a quickly warming snow. This whole first descent is only about 400m with a sharp contouring traverse left about mid-way down.
Ascent to the next col is straightforward and only around 140m. Pay attention to big south slopes coming from the left if you are in this small valley on a hot day.
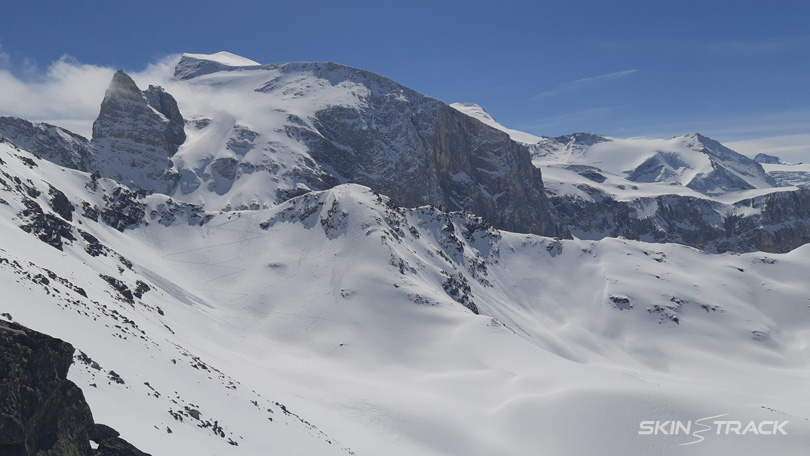
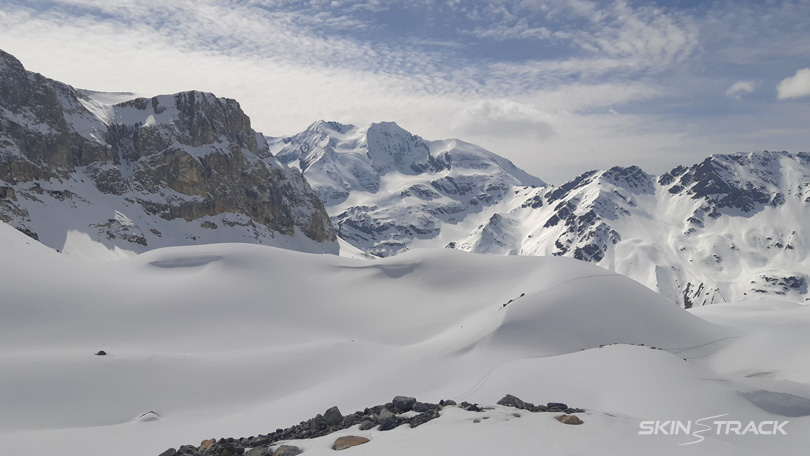
The descent to the Turtmann hut starts with wide south slope and offers some good turns. Later, skiing turns into a game navigating many terrain micro features to find the best way to the hut.
Day 2:
Turtmann Hutte at 2519m » Cabane de Tracuit at 3256m
Elevation gain: around 1000m (2 ascents, 2 descents)
Duration: 4.5-6h
Possible side-trips: Brunegghorn 3833m, Tete de Milon 3693m
The second day started with a traversing descent, loosing about 80m, to reach a very obvious central gully that came down from rocks and a glacier above on our left side.
It took us about an hour to skin up the gully and reach a big plateau on the Brunegghorn Glacier. From here, you can continue up the glacier and climb the Brunegghorn for high summit and superb views.
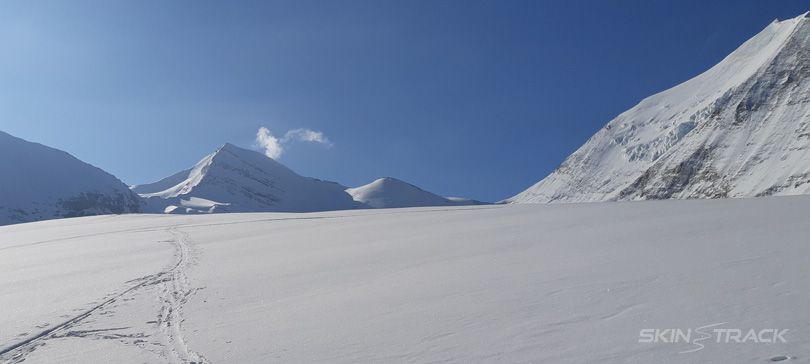
We chose to skip Brunegghorn and ski down to connect with the Turtmann Glacier as we had other plans later that day.
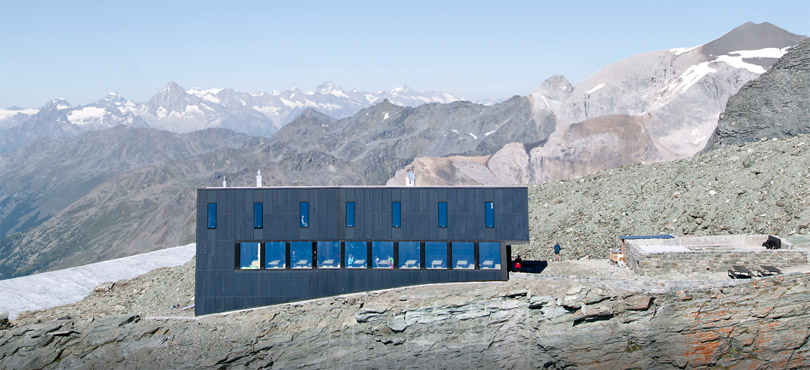
The ascent up the Turtmann Glacier starts with steeper slopes before slowly mellowing into a gently rising plateau. We reached the Tracuit hut in a big wide col just before noon.
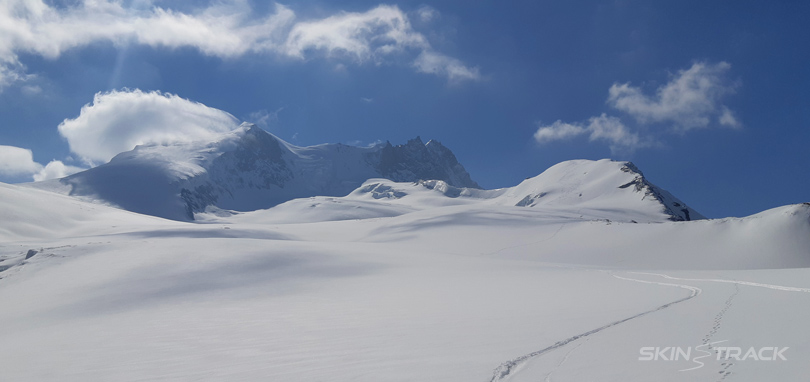
After lunch and a nap we left for a 400m climb up an easy Tete de Milon peak which proved to hold excellent powder on its north facing glaciated side. While the snow was fabulous the visibility quickly deteriorated as we shared some good laughs on the summit.
Day 3:
Cabane de Tracuit at 3256m » Cabane Arpitettaz at 2786m
Elevation gain: only 300m without side-trips (1 ascent, 2 descents)
Duration: 2-3.5h without side trips
Possible side-trips: Bishorn 4159m, Tete de Milon 3693m
With a high peak insight, we set out for Bishorn early in the morning, an 800m climb and a 3-4.5h round trip. The views from this summit are truly spectacular with a sea of 4000m peaks and big dramatic glaciers all around!
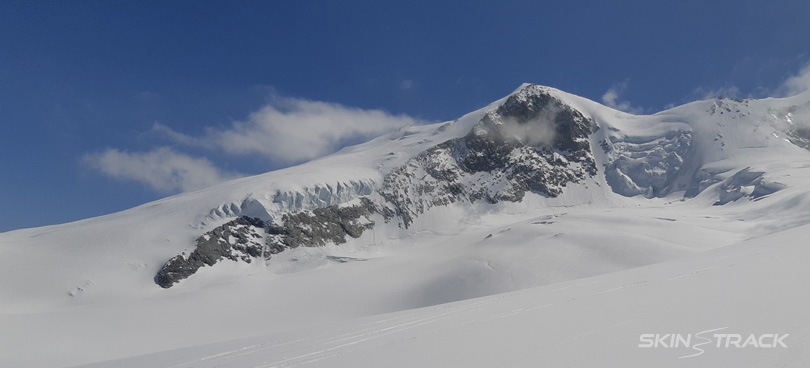
We roped up for most of the climb and also put on crampons for the final summit push.
The descent is fine and long. Watch for opening crevasses on the way up so you can avoid them on the way down.
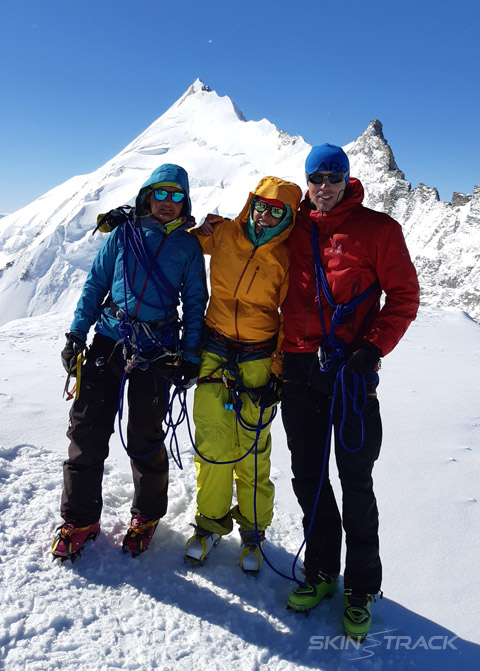
After Bishorn, we enjoyed lunch in the sun at the Tracuit hut before diving down a nice steeper descent that brought us into a warm and avalanche exposed valley. A 300m climb into a col on a ridge felt long and difficult as we often stopped to drink and cool down, but with help of some Italian music we conquered this massive climb 🙂
At the top, we down-climbed a short section to get off the ridge as the snow melted away couple of days earlier. Then a short, easy and traversing descent brought us to the lovely Arpitettaz hut.
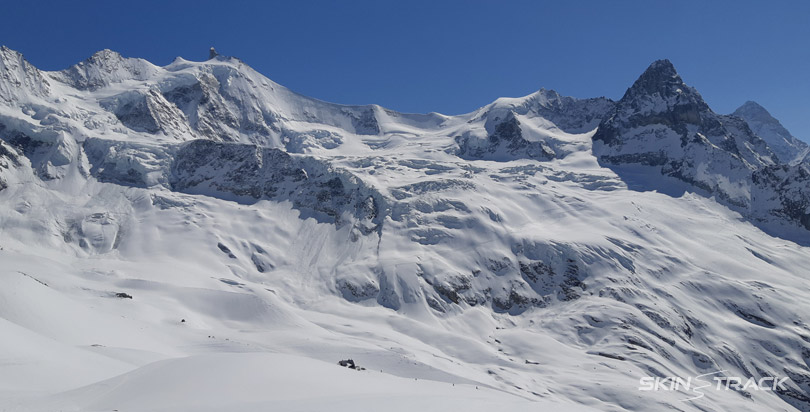
Thanks to its smaller size and a family atmosphere, this hut quickly became our favourite on this trip. The views were just a cherry on the cake!

Day 4:
Cabane Arpitettaz at 2786m » Cabane du Grand Mountet at 2886m » Zinal at 1680m
Elevation gain: 1200m without side-trips (1 ascent, 2 descents)
Duration: 5-7h
Possible side-trips: Blanc de Moming 3661m, Zinalrothorn 4221m (requires climbing)
Motivated for a big push to reach Zermatt that day, but open to an early exit if Daniela’s breathing problems persisted, we left the hut early in the morning.
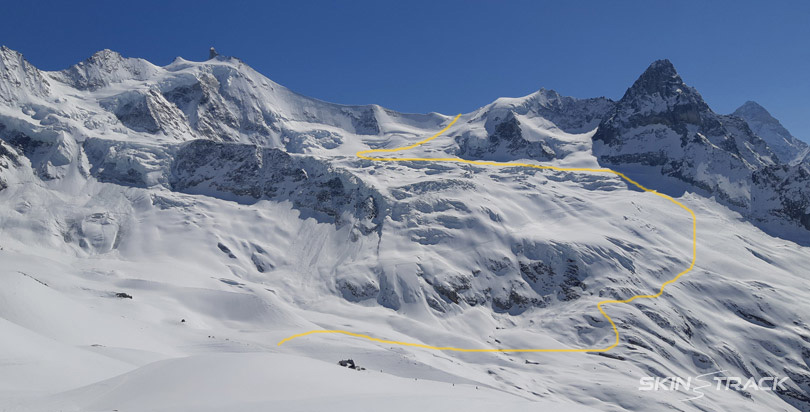
A long yet really nice climb up the Moming Glacier brought us to a col with the most impressive views on the traverse.
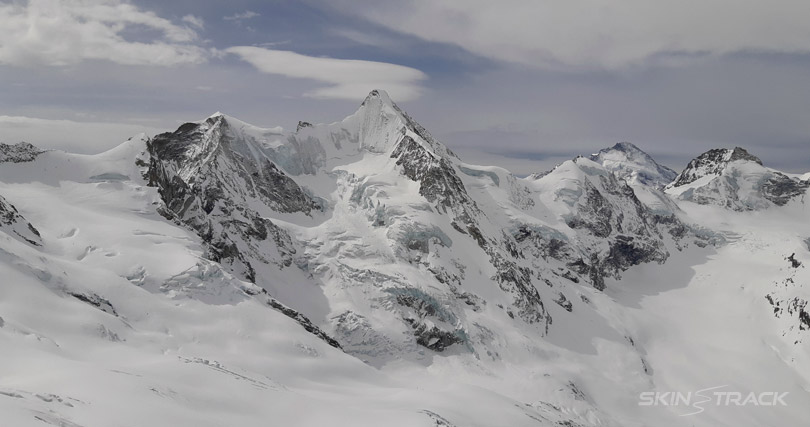
At the col, we agreed that pushing all the way to Zermatt that day would be a torture for Daniela and so we agreed that skiing out to Zinal is the best option while still completing majority of this beautiful ski traverse.
Having some extra time on our hands, we went up to a sub-summit of Blanc du Moming (turning right in the col) before heading back and roping up for an amazing traverse of the Moming arete – a steep ridge that divides the Moming and the Mountet glaciers.
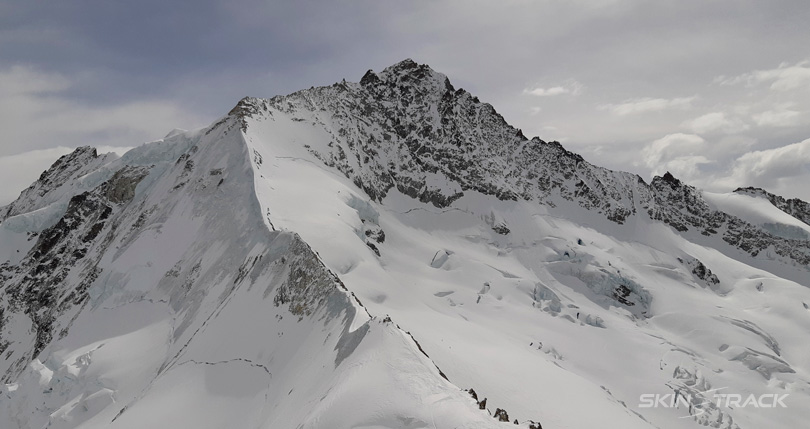
Back on skis, after the arete, it was time to enjoy some spring skiing and a brief break at the Grand Mountent hut which is pitted in a truly spectacular place, deep below a series of steep 4000m peaks.
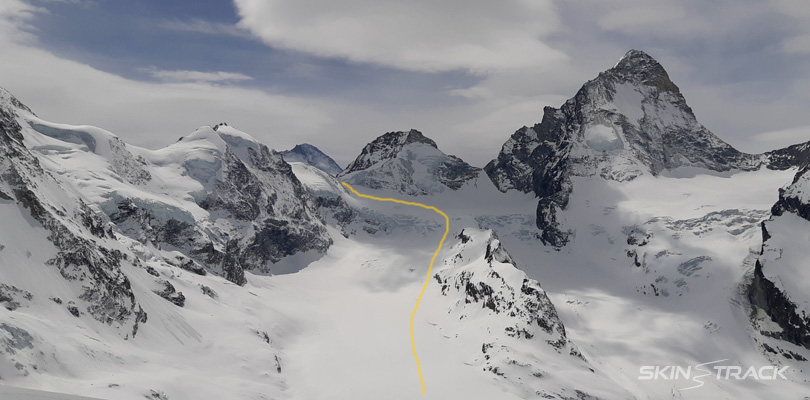
The descent to Zinal village was long and offered nice turns on a mellow Zinal glacier before we skied down an old road that ultimately brought us to wide flats before the village of Zinal.
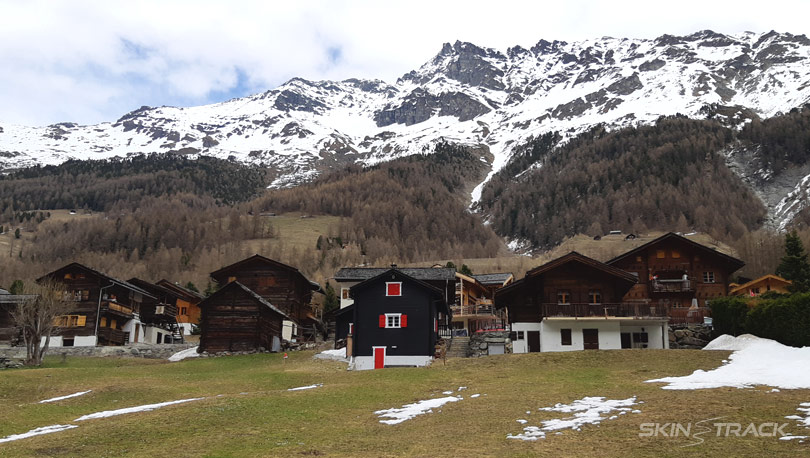
Since we ended up in a different valley than our car in St. Niklaus, we took a scenic bus ride down from Zinal to town of Sierre in the main valley. From there, we took a train up to Visp before switching onto a mountain train ride up to St. Niklaus.
Additional Information
Logistics/Transportation + Parking
Compared to the famous Haute Route, the Imperial version is much simpler for transportation as you can start and finish in the same valley, and getting back to your car (or main train routes) with just a simple bus or train ride down the valley.
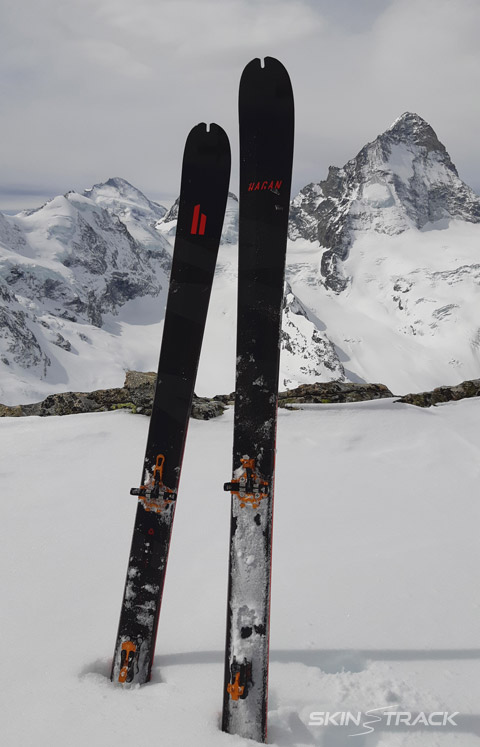 We parked in St. Niklaus which is about 30km down the valley from Zermatt. The same can be done on the Zinal side where you park at St. Luc and then ski out to Zinal.
Our logistics got slightly complicated as we skied out in Zinal instead of Zermatt, yet we still got back to our car in less than 3h of connecting buses and trains.
Hut arrangements + Food
Booking huts is easy but I recommend calling if possible then instead of just filling out the online form.
You will most likely get a discount if you belong to an alpine club in your country. Since you are in Switzerland the prices are slightly higher than rest of Europe but paying around 65-75 Euros for sleeping, dinner and breakfast is reasonable.
Huts:
For food, all huts will provide you with fine dinner and breakfast but plan on bringing all your lunches and snacks for the whole traverse.
As there is no running water at the huts during winter-spring months you will have to buy it every day.
For staying at huts, it is required that you bring your own simple sleeping sheet (or sack) while the pillows and blankets are provided.
There is no need to bring slippers as they are provided at every hut.
If you need WIFI then you might get lucky at some huts.
For weather, just ask the hut custodians and they will happy to help you.
Recommended gear:
In addition to standard ski touring gear, I recommend to bring a rope and crevasse rescue gear. Then an ice axe and boot crampons.
Ski crampons can be useful as well but we chose to leave them behind. If you don’t plan doing any side trips then you can likely get by without boot crampons as well.
Other:
Having a topo map of the area is always good and you can buy 1:40,000 that covers the whole traverse and more.
For clothing, you will be travelling mostly around 2800-3500m so it can get cold when windy even when the sun is out.


Jim Pace says
Was it as crowded as the regular haute route? Did going guide less make you into pariahs as might be on the regular route?